Goldbrand Custom trailers
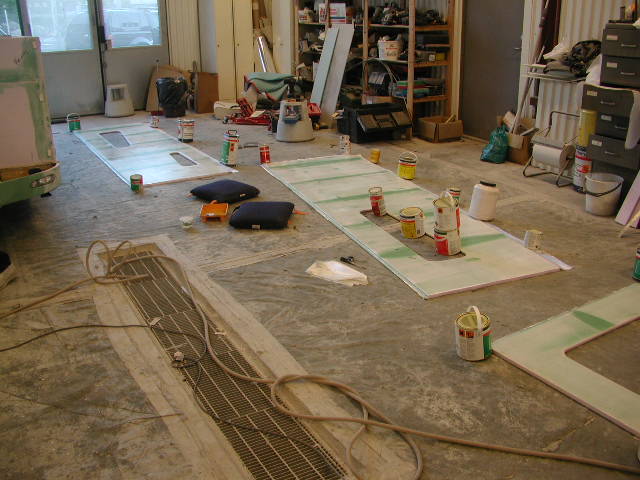
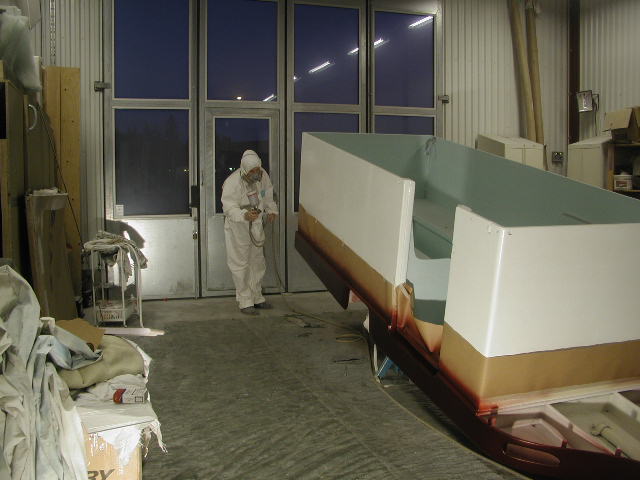
Here are pictures of when Tony and Desirée aka "Dessan" built the lighter version, It took us about 350 hrs to get it to where we could take it for a testrun, we did not do anything to the inside as you will see in the pictures.
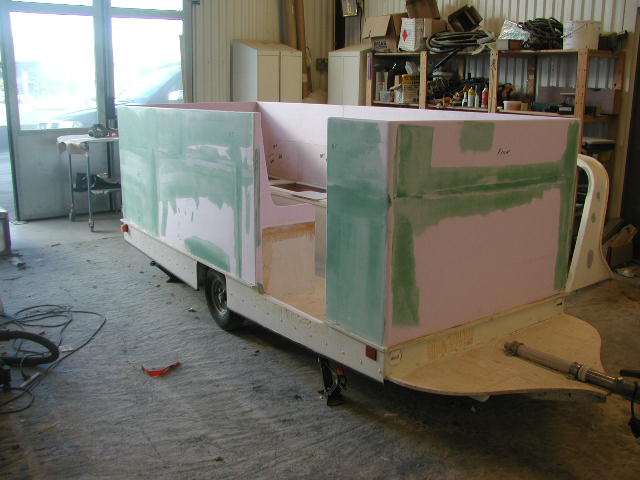
Prototype # 2
145kg/319lbs. 125cm wide. 315cm long. 136cm high in down position, 210-230cm high in up position.
180-200cm headroom. 20mm insulation. 120x200cm bed + 1,2 m2 floor space.
3 m3 volume in down position, 6 m3 in up position. 600liter/158gl storage in 6 different compartments under the bed.
KEEP IN MIND THAT WE DID THIS IN 15 DAYS. NO EFFORT WAS DONE TO GET IT PERFECT.
There are MANY steps not shown in these pictures, like the 4 coats of primer, filler and sanding in between.
Sacrificing prototype #1
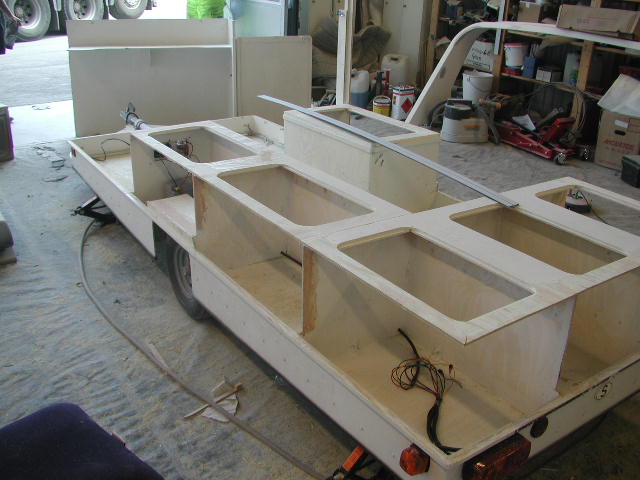
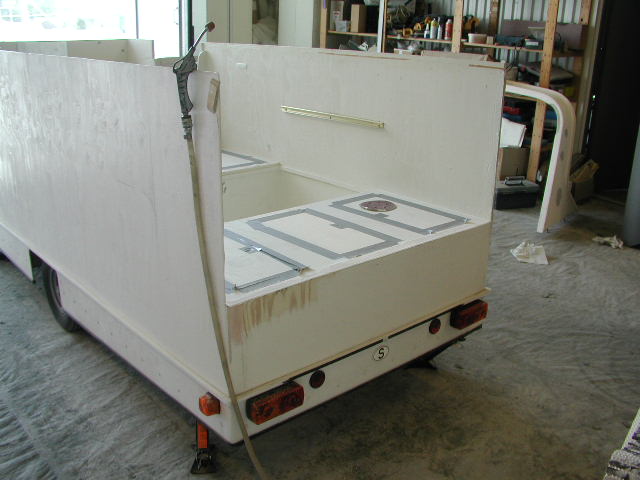
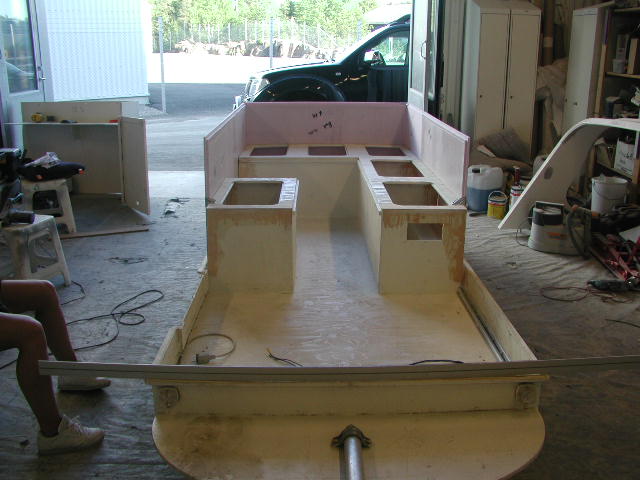
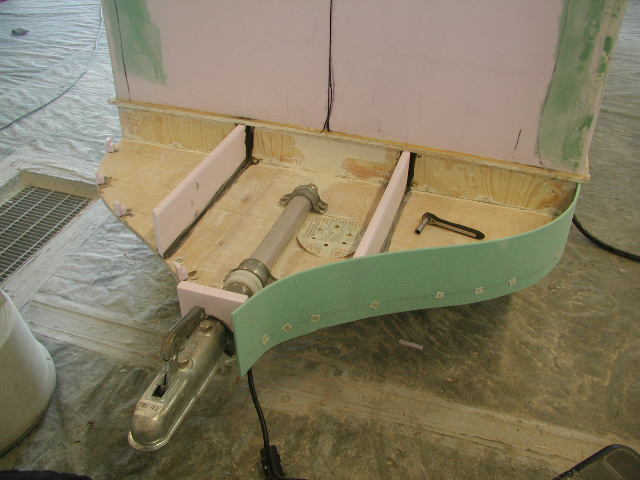
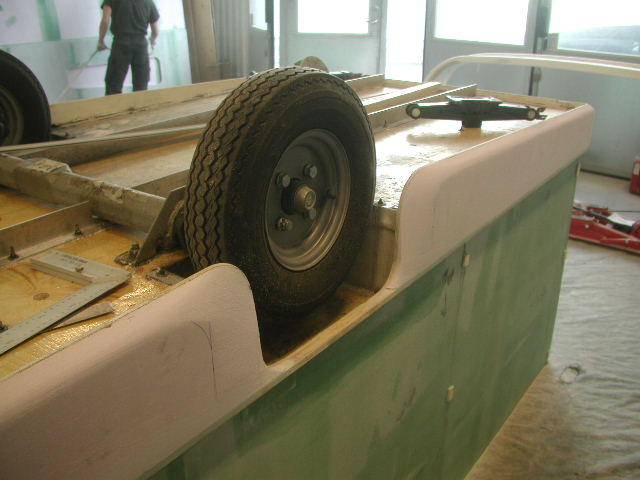
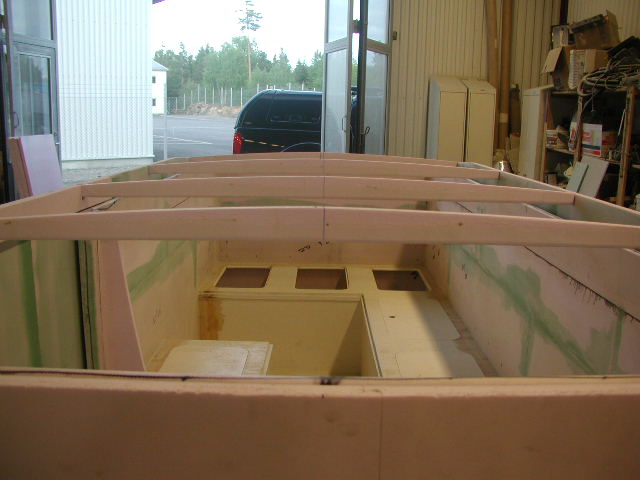
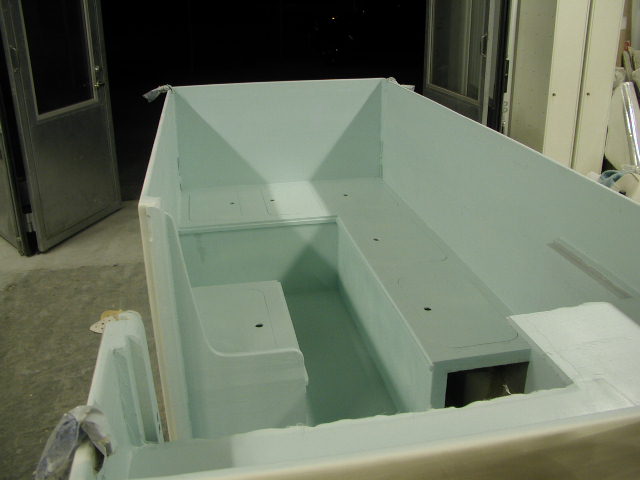
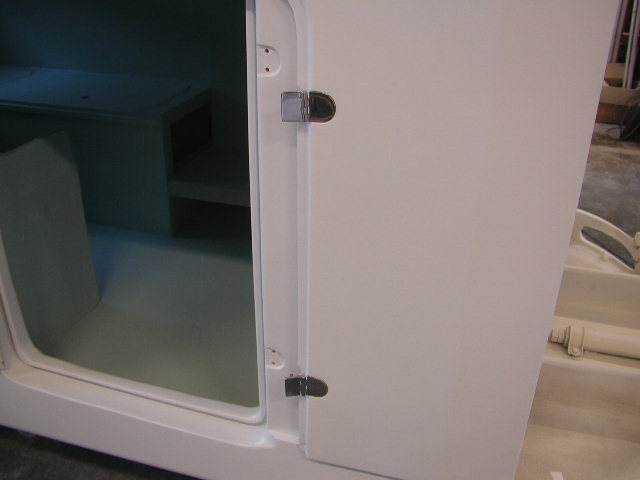
Here you can get a good view of the inside storage, approx 600 liters of packing space under the bed.
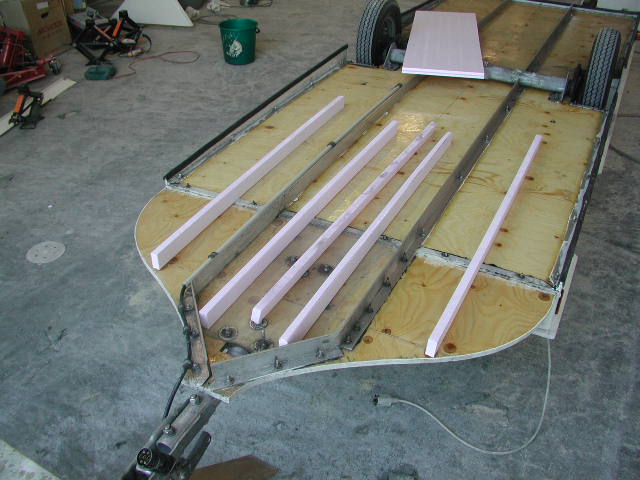
5 Extra supportbeams, the old one was a bit soft. Rock solid now.
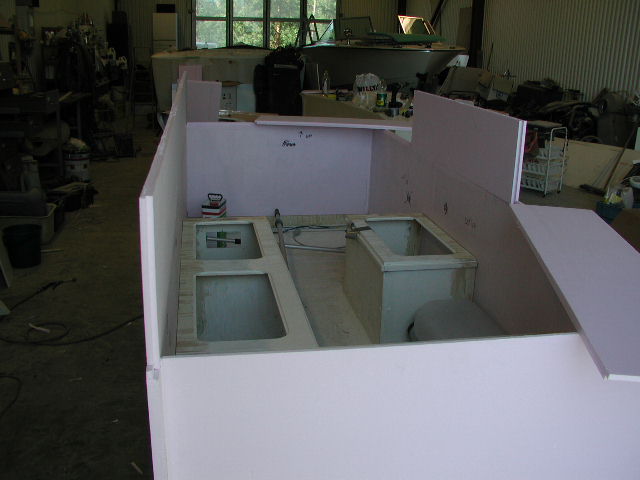
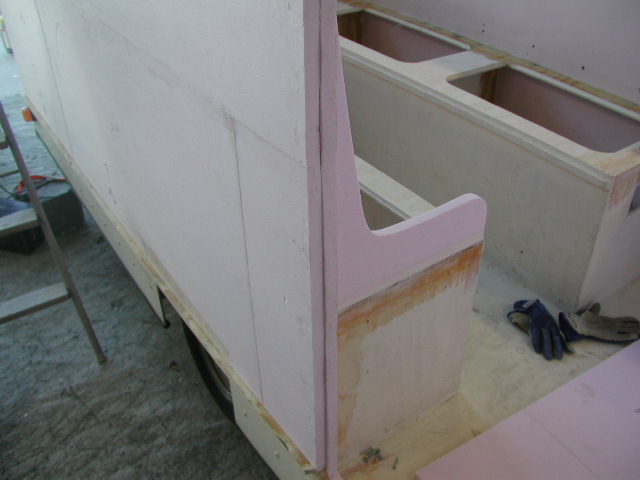
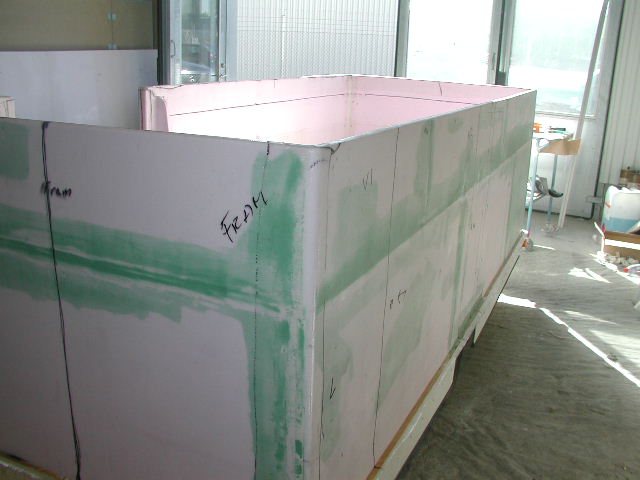
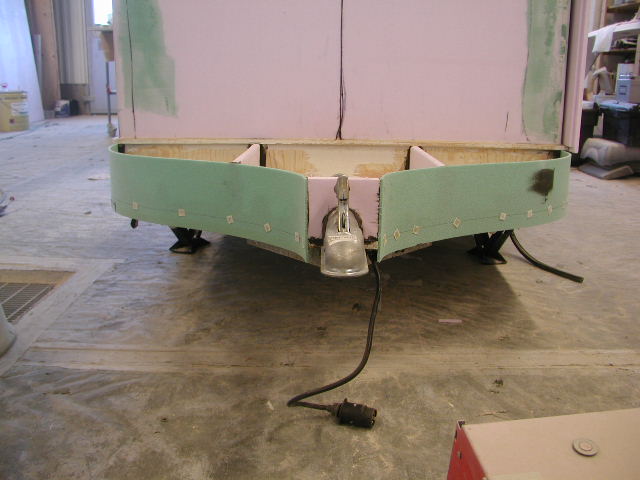
Starting to build back wall, "the ruler is curved making the trailer look like it's sagging"
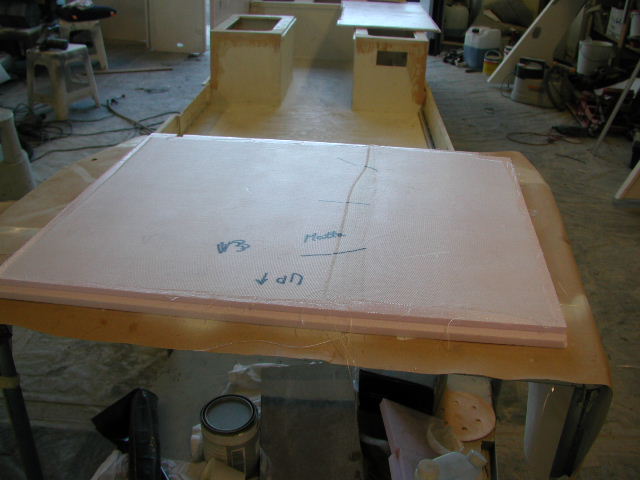
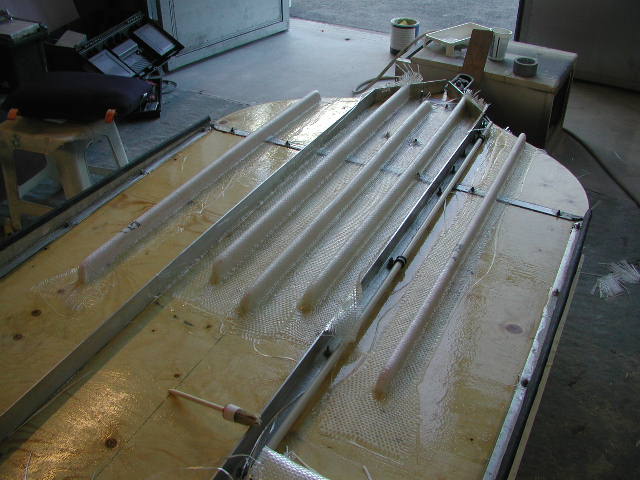
Each piece of the wall had to be pre fitted and the fiberglass mech applied first,no room to work inside the storage boxes.
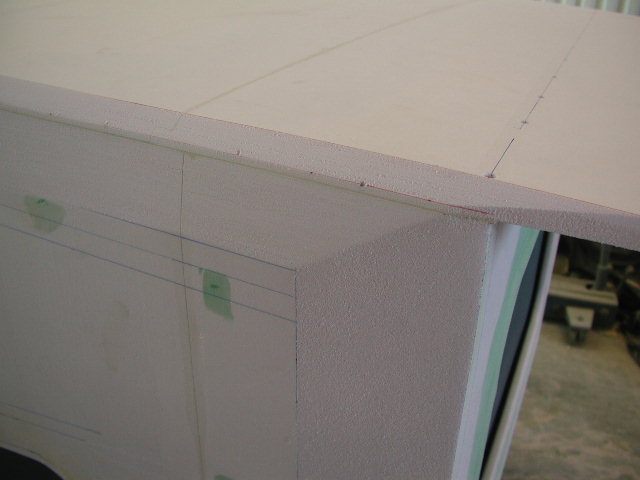
Installing top part of the inside lower walls.
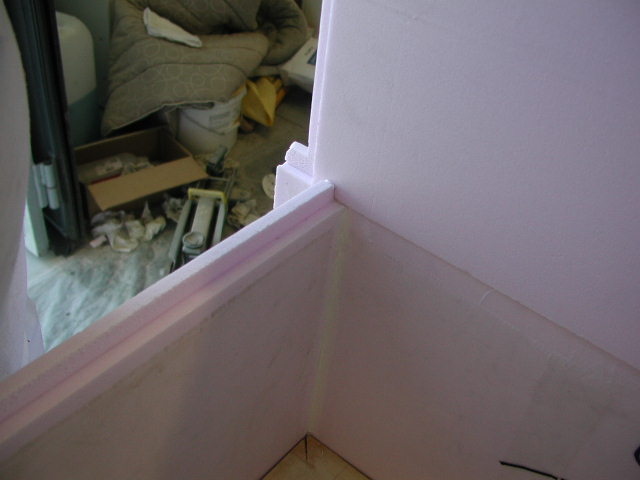
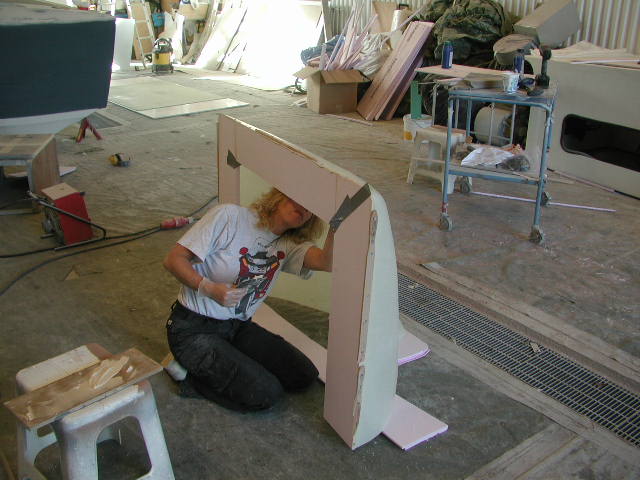
Door frame gets an extra 20mm thickness for stability.
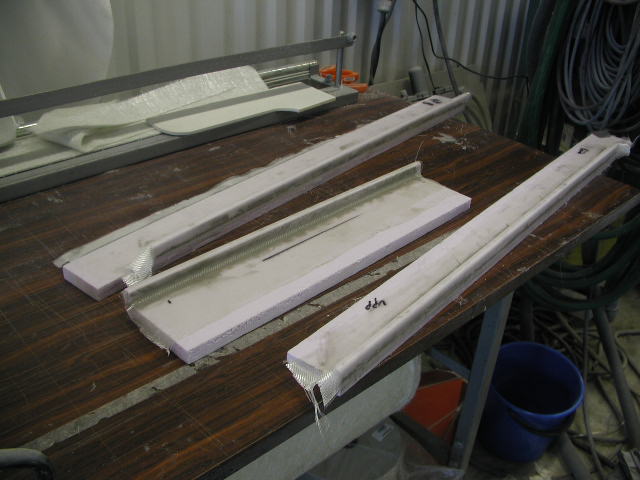
Door frame in pieces
Doorframe being built aside.
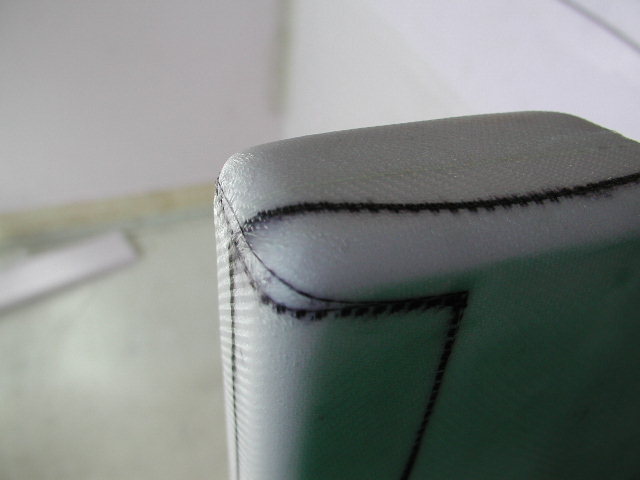
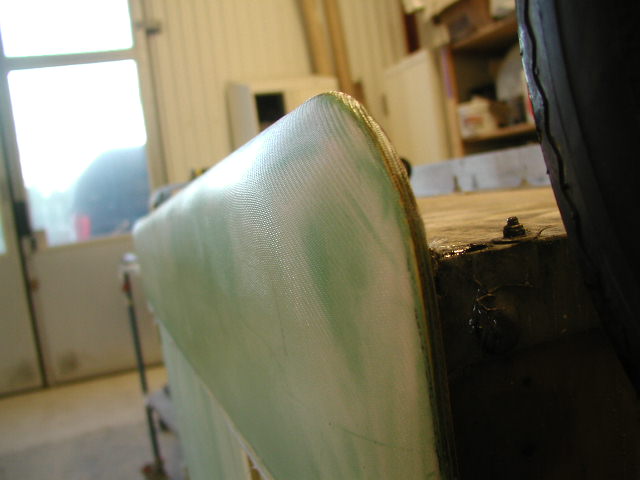
Starting to look good now with rounded corners.
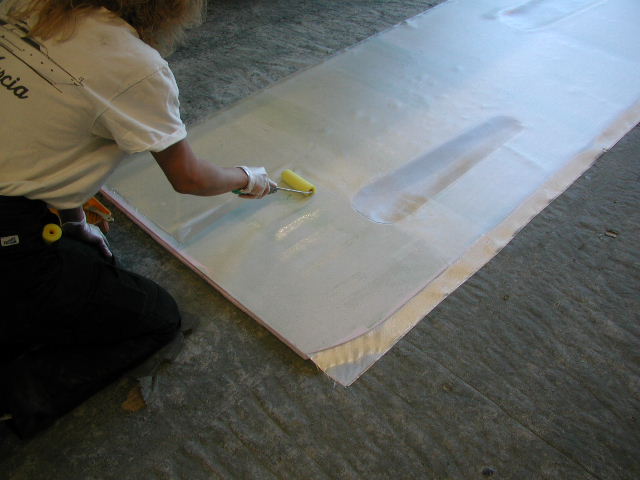
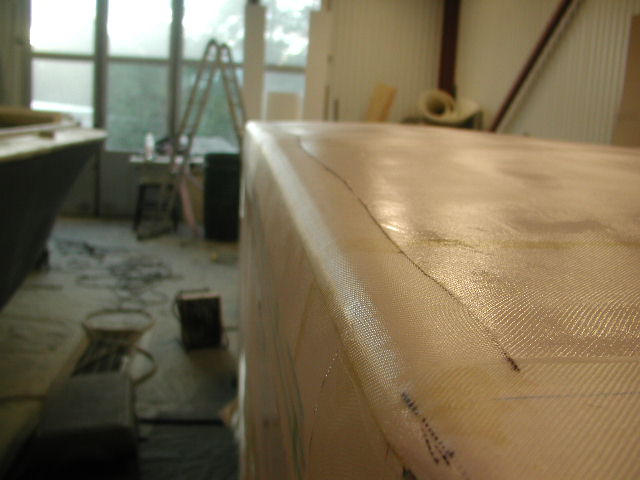
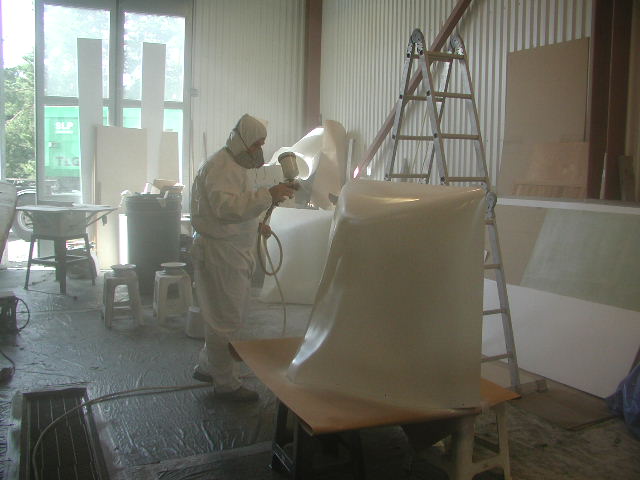
First coat of MANY with fairing compound, to get a smooth surface for the fiberglass.
Dessans handy work, it shows that she knows how to apply fiberglass, NOT easy to drape it this nice.
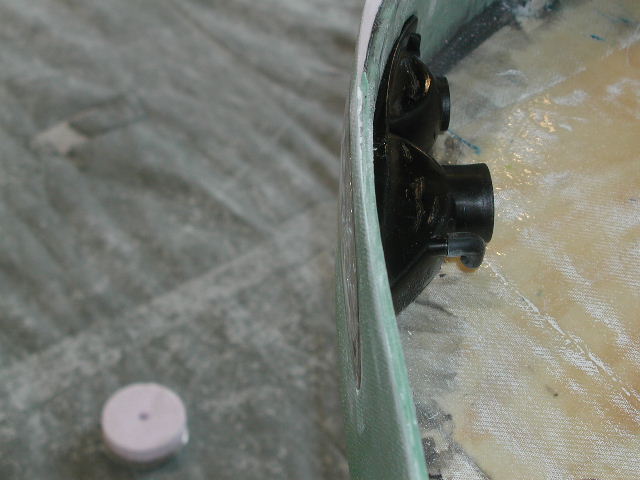
Door post.
5mm divynicell to shape the front.
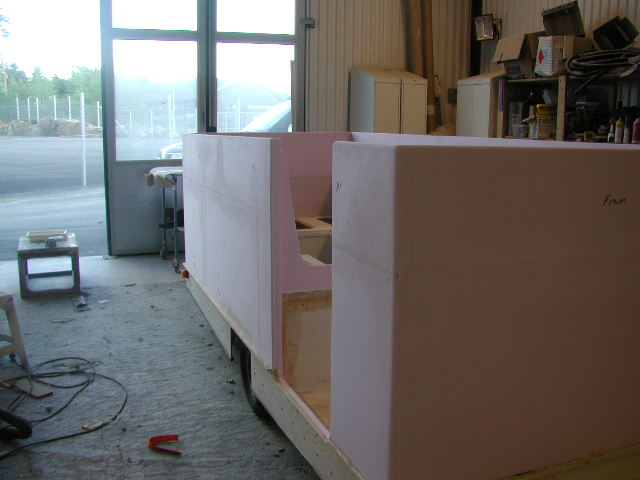
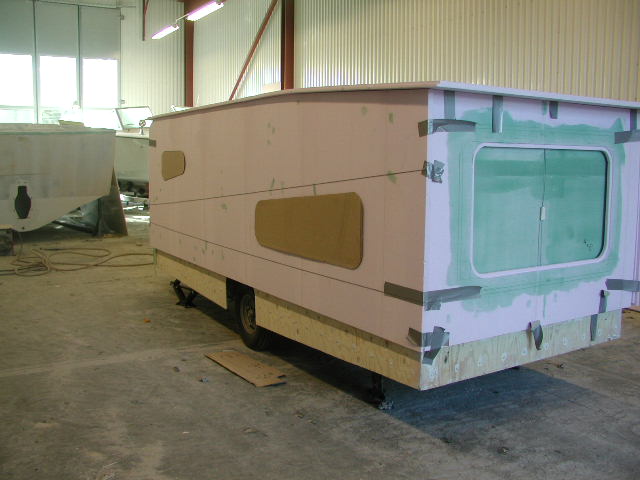
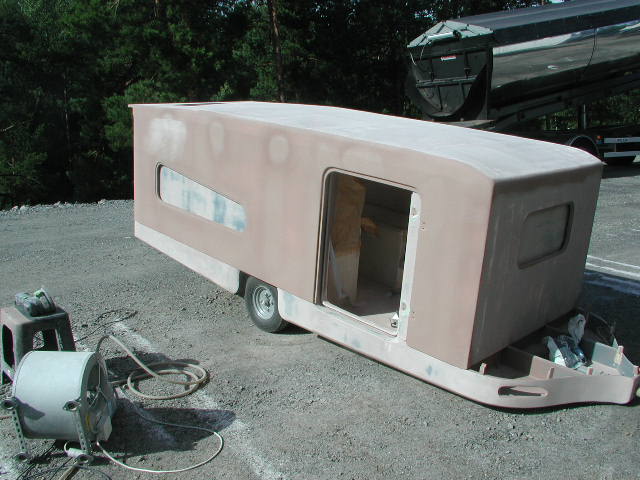
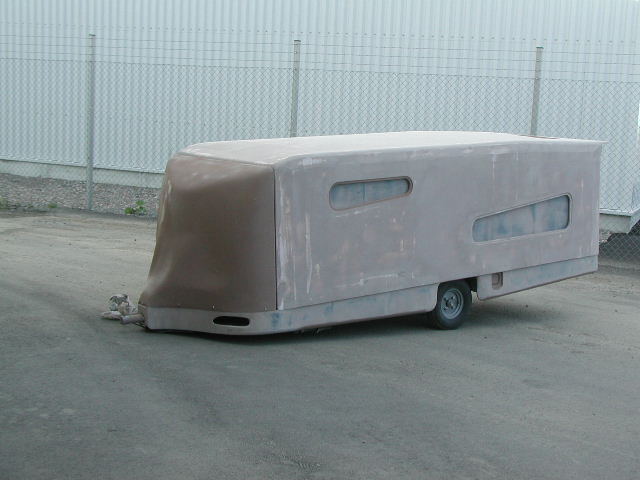
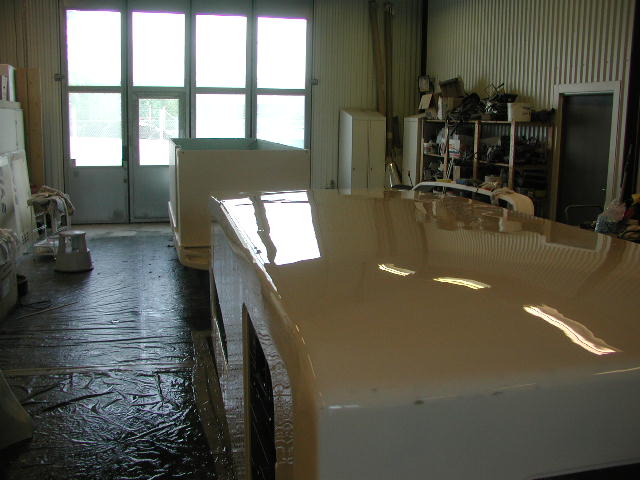
Time to get a look from a distance
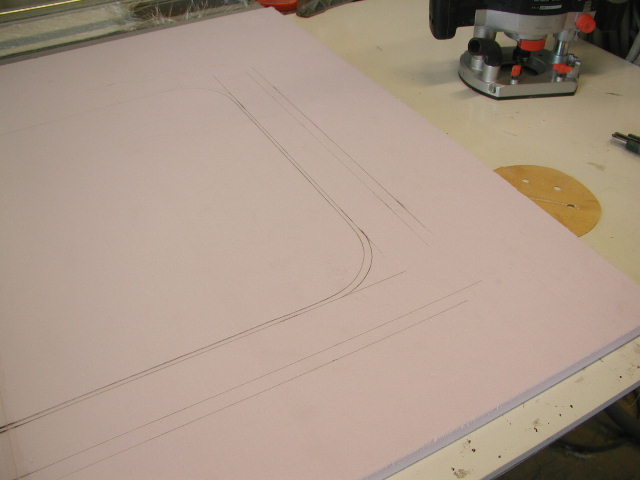
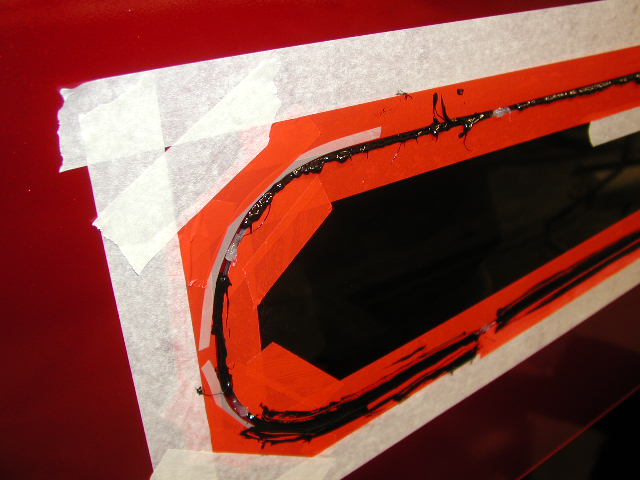
Routing the ledge for the rear window
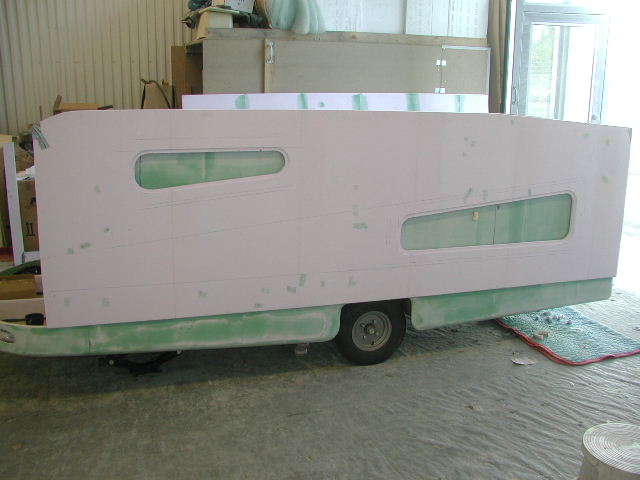
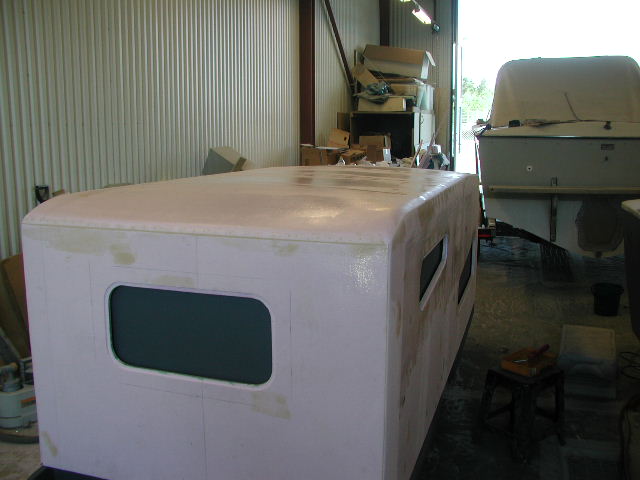
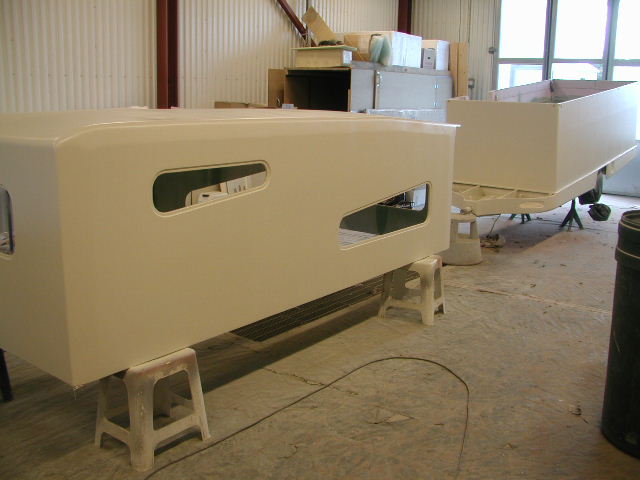
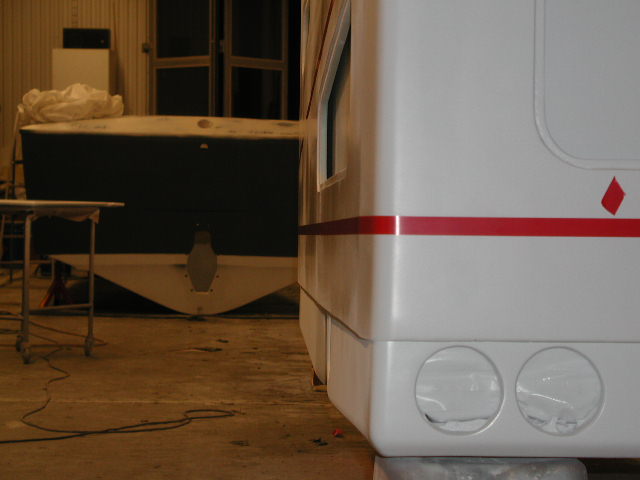
Nice to have flush mounted windows, for a clean look
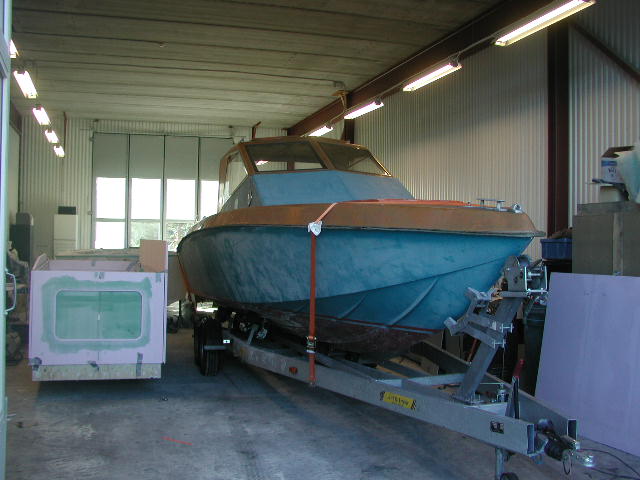
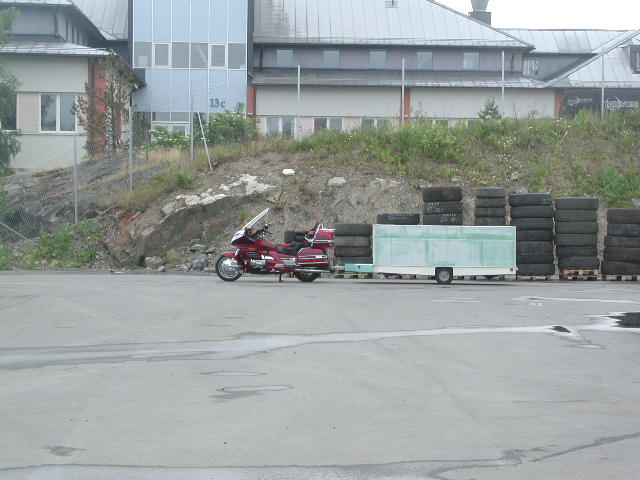
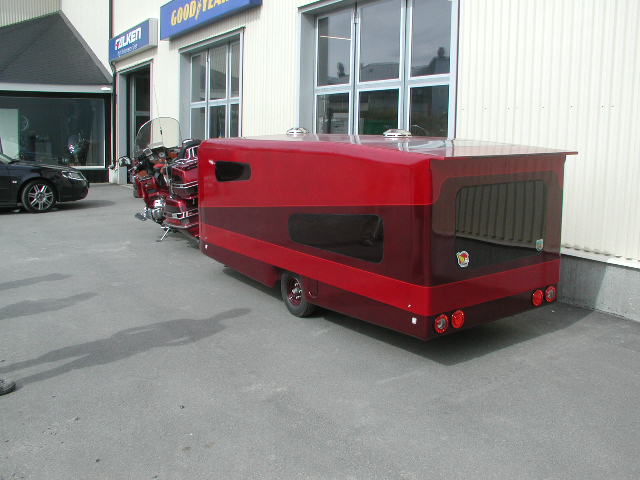
A good picture to get the size of the trailer in prospective, thats only a 28' boat
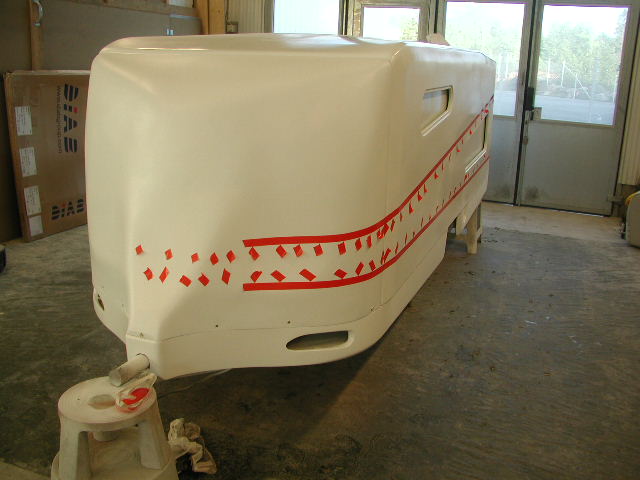
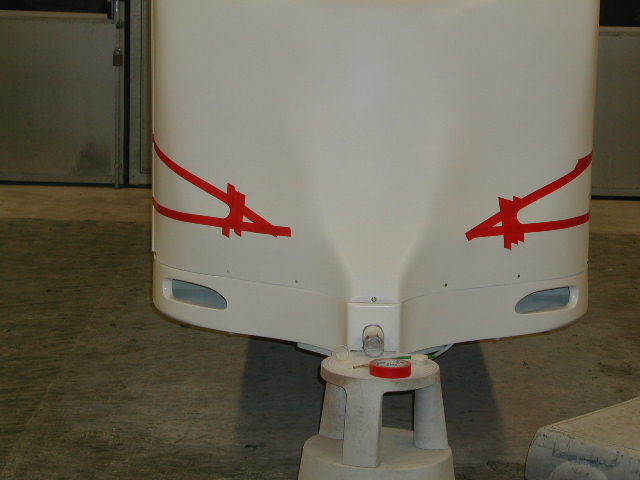
Starting to figure design of the windows and stripes.
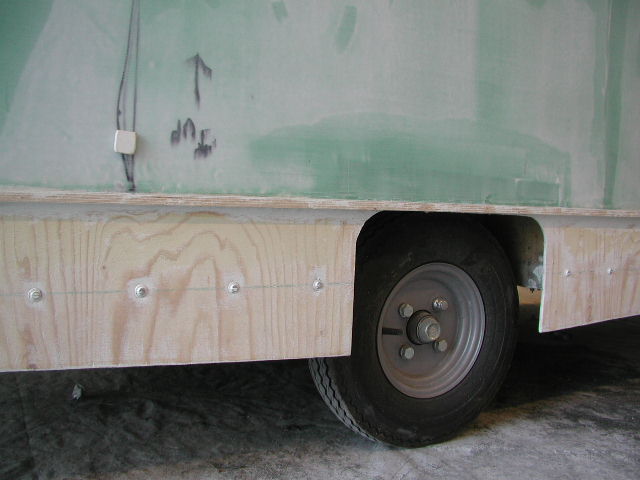
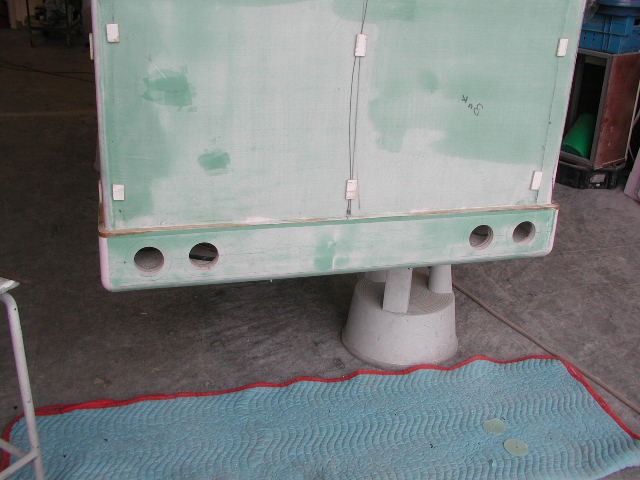
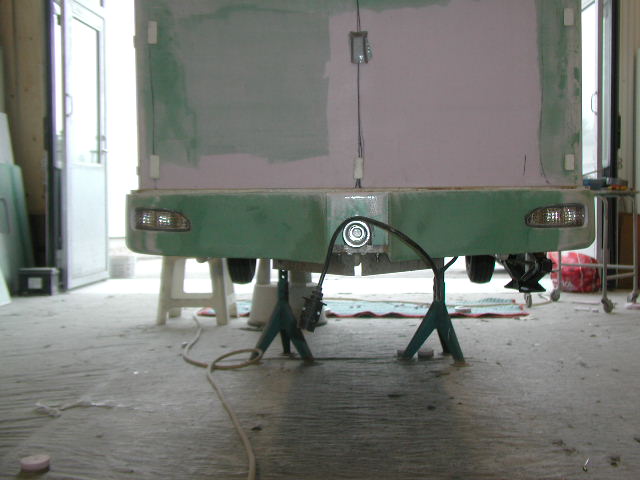
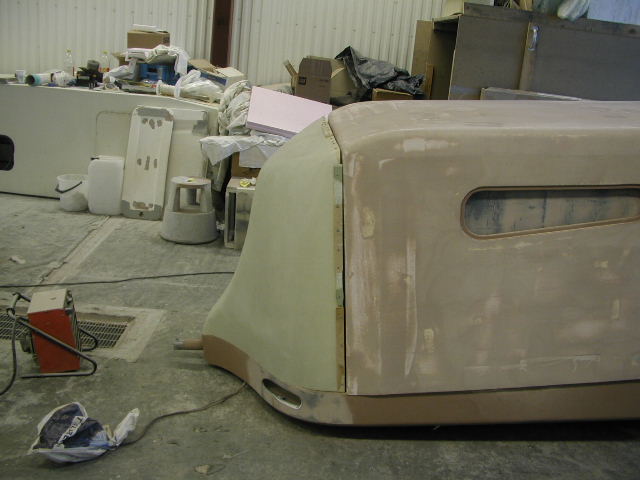
The old bottom part "skirt" did not look good with all the screws, something had to be done
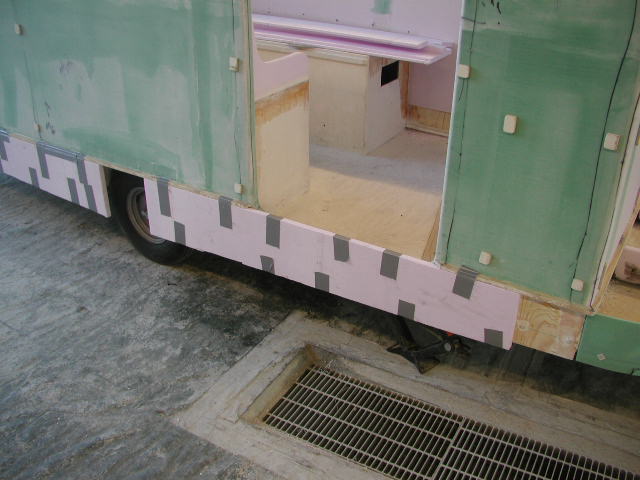
So we glued on boards to be shaped into something nicer
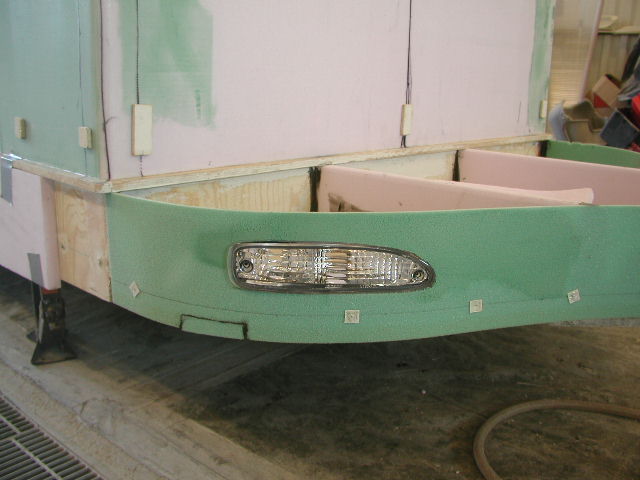
Nissan 200SX lights beeing intalled in the front.
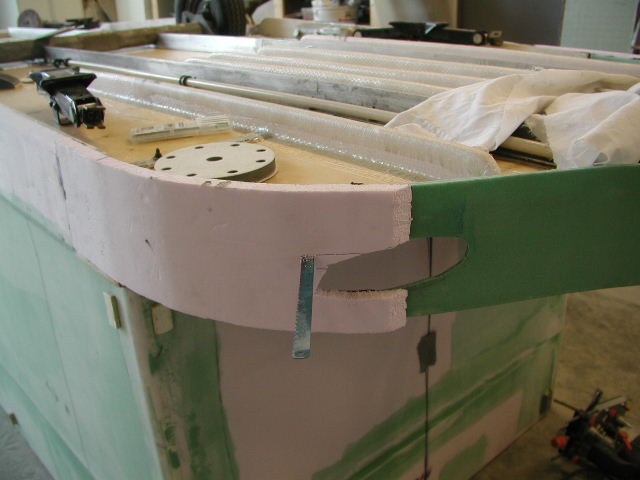
To get a perfect fit and that rounded look more thikness was needed.
Now we can shape it
Fun to play with different shapes, but you only get one chans unless you want to remove it an glue on a new piece and do it again.

Dessan applying the fiberglass
Dessans handywork again.
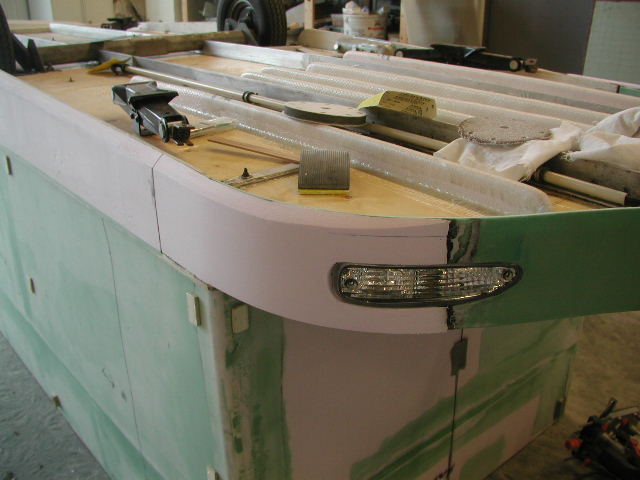
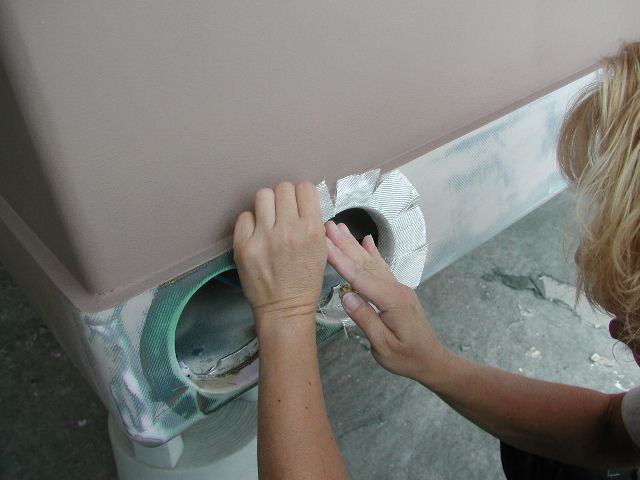
Double sided tape held the lights in plase just long enough to messure and decide where to put them.
The biggest holesaw did the first hole, the rest had to be done by hand. You kan barely see the outline
The front is taking shape, looking good, nice and straight
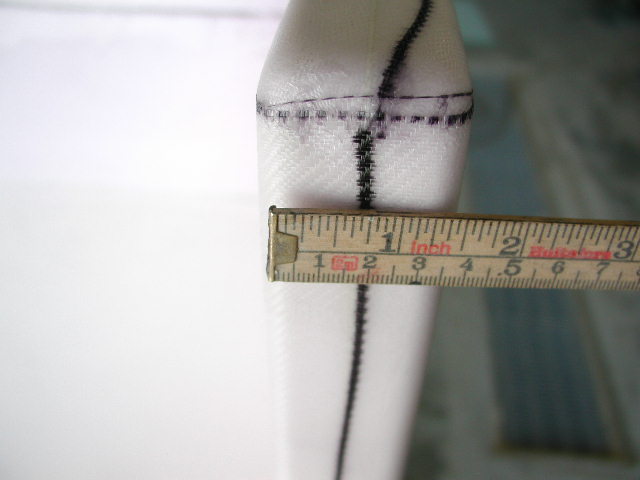
As you can see the front is only 5mm thick, nice fit
Getting there
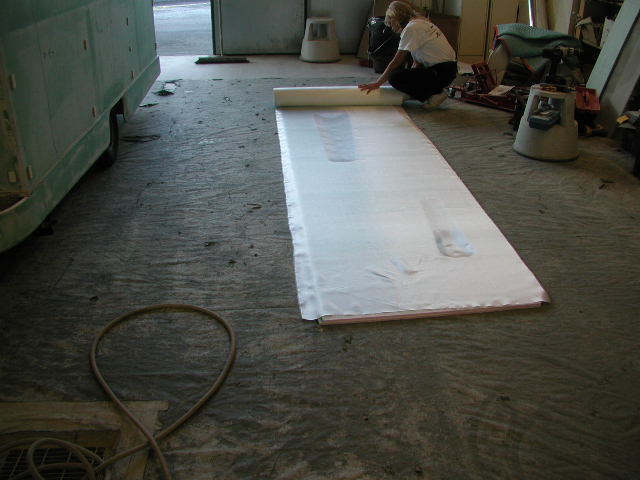
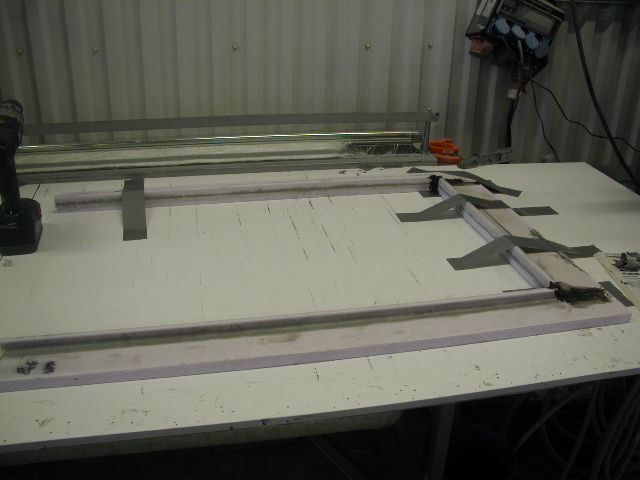
Dessan is messuring out and pre cutting the fiberglas
Important to keep them straight and level.
Even if they are small here are the trusses beeing installed. Pre fabricated. PERFECT fit look at the center line
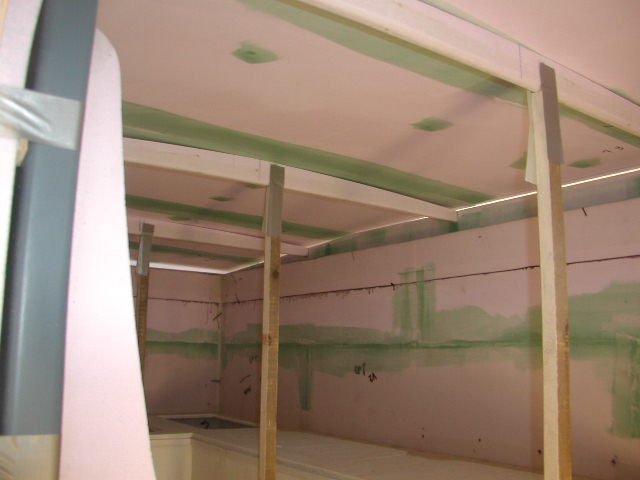
Time to glue the roof on, extra support until all is done.
Corners, angles, shapes all has to be hand sanded with a long board to get it straight, no shortcut with machine
The top is done. 22 kilo without the windows. The roof has a total of 11 angles.
Dessans work again
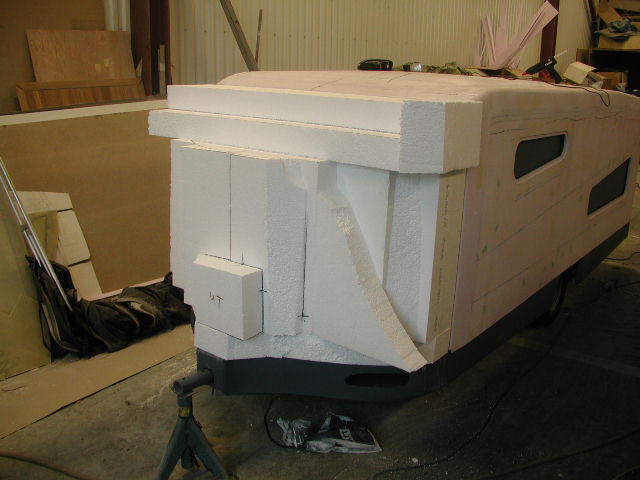
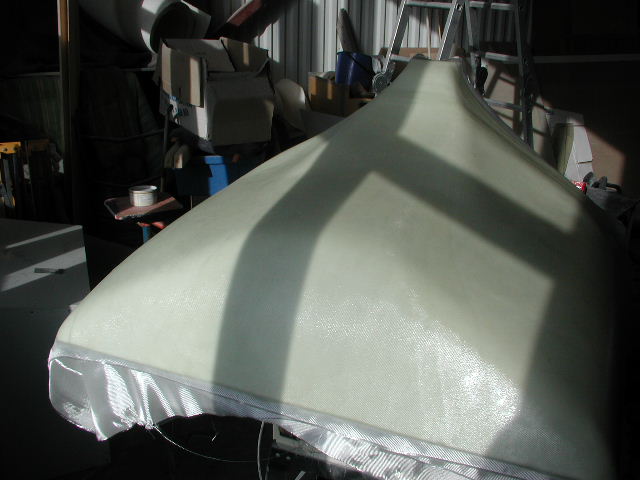
Time to shape the front into something a bit nicer and aerodynamic. Styrofoam is used for the "plug"
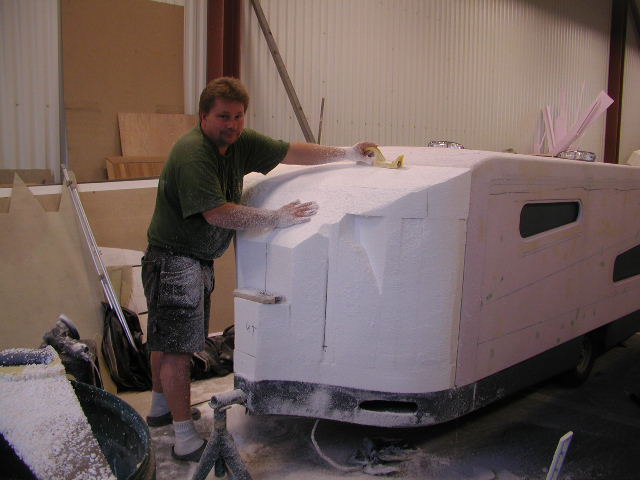
Hey look It's snowing in June, inside.
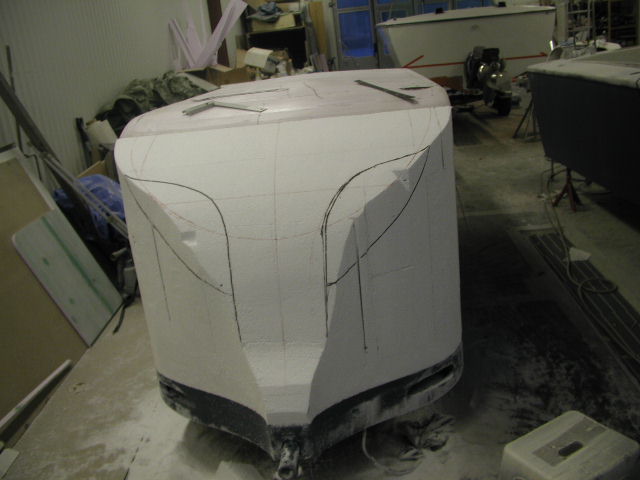
Looks like a BUG, an angry bug
Getting there
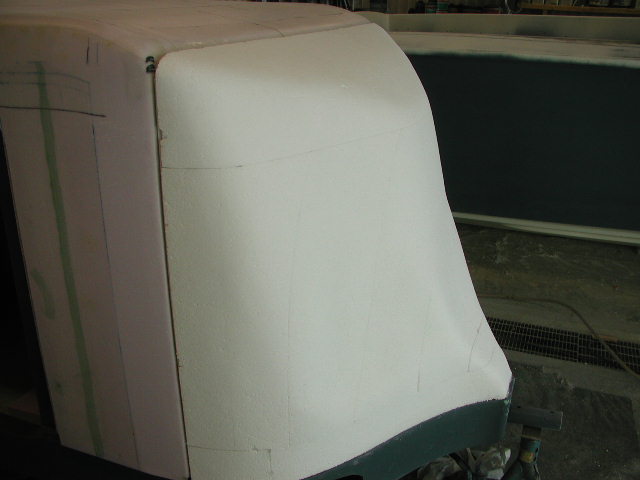
We c hanged our minds 3 times before we got to this shape
Dessan applyed 5 layers of fiberglass overlaping in the middle
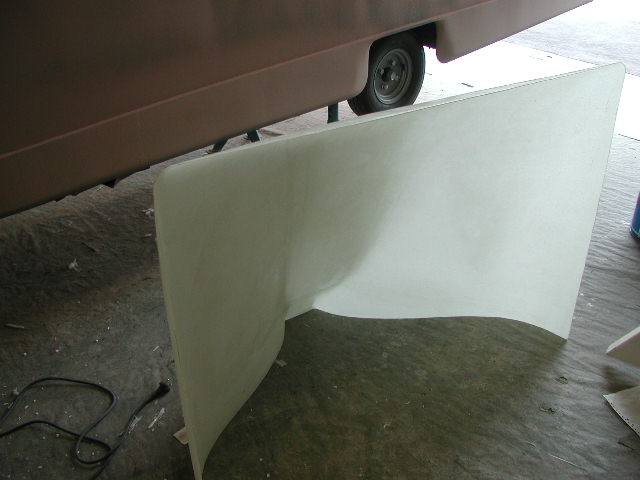
Finished product 2-2,5 mm thick and strong. Only 2,5 kg
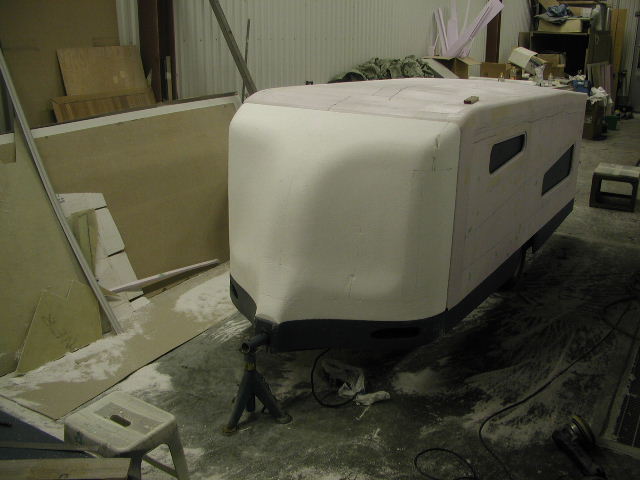
Due to lack of time dessan just attached a temporary support on the back to stabilize the edges.
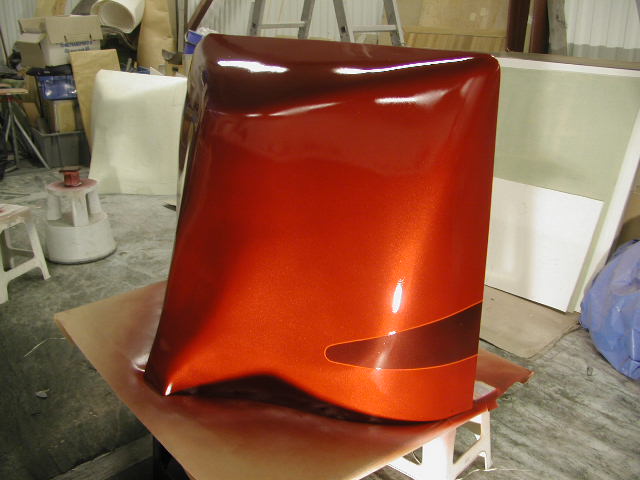
Came out pretty good, The whole bront "bulb" Weighs only 2,5 kilo 5lbs
Every cut we made in the material has to be covered with fiberglass and resin. Othervise it will crack
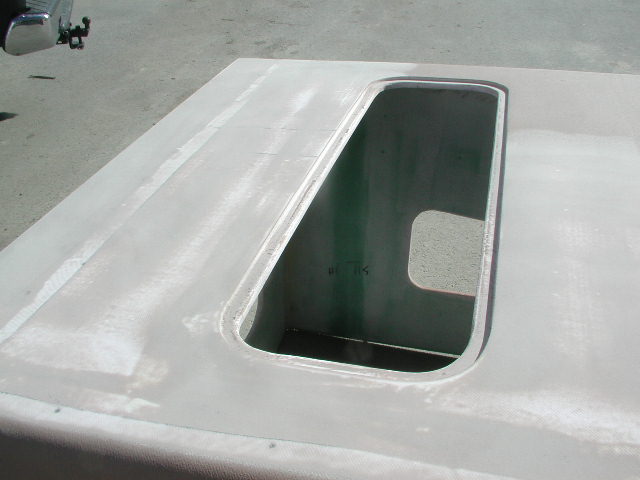
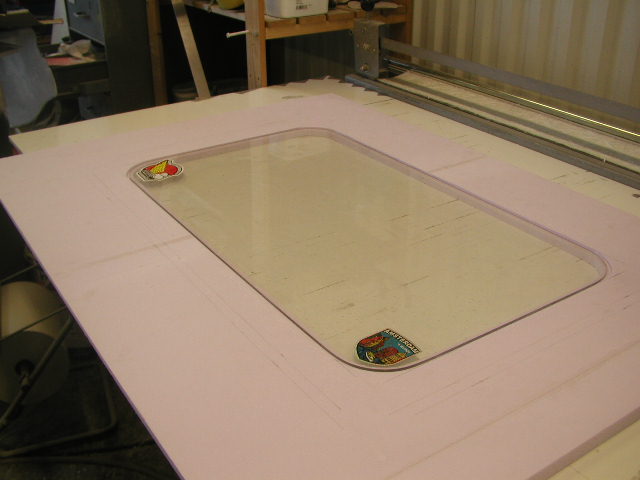
Skylight
One of many coats of filler. Awlgrip's sprayable fairing compound is used.
Due to good prepwork the front only had to be faired once to get a good surface
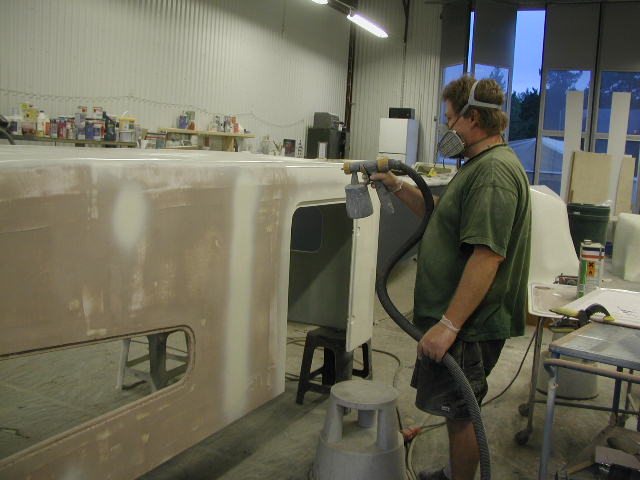
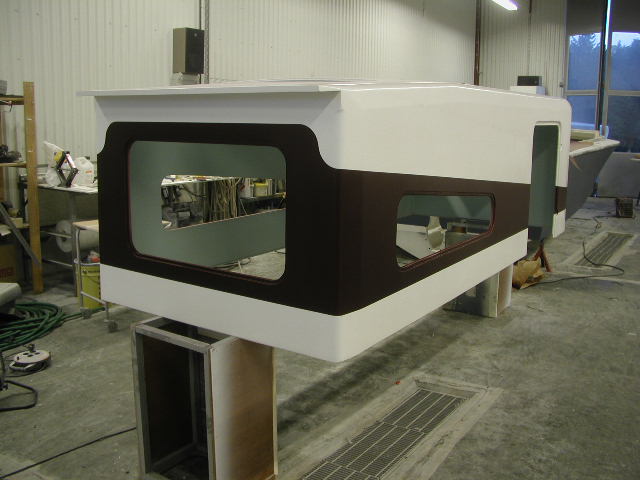
Time for final coat of epoxy primer
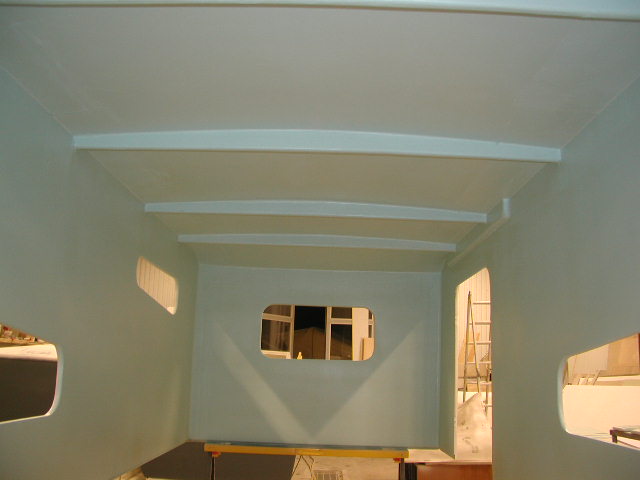
We had a beige epoxy primer to cover the inside with, but it hasn't the best covering ability, so some "baby blue" color where mixed in, We soon found out that "beige" and "baby blue" makes a turquoise looking color, NOT NICE but what can you do.
We decided to live with the color
Everything is cleaned and ready for paint, now is the time to spot imperfections. This is the 3 night in a row we work around the clock. Note daylight outside
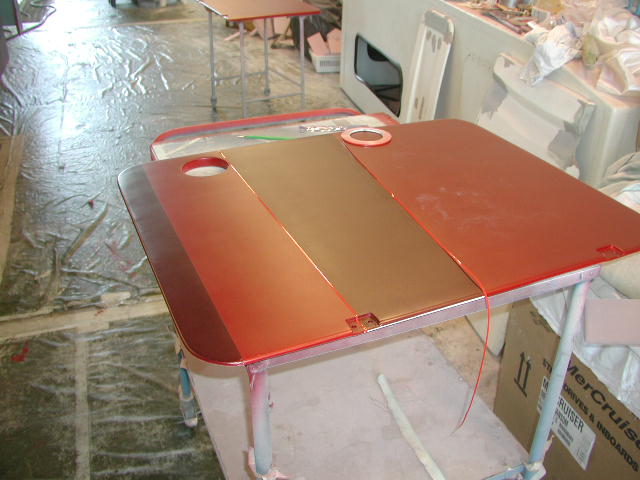
A white base coat is here applyed since the next colour is some what transparent
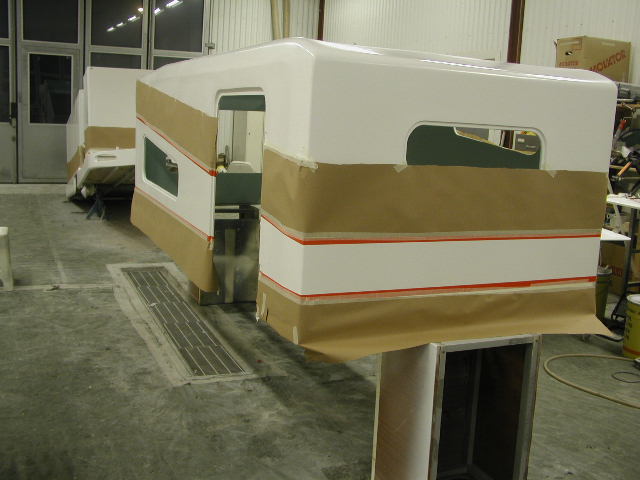
Everything has to be temporary assembled to be able to stripe and paint next coat
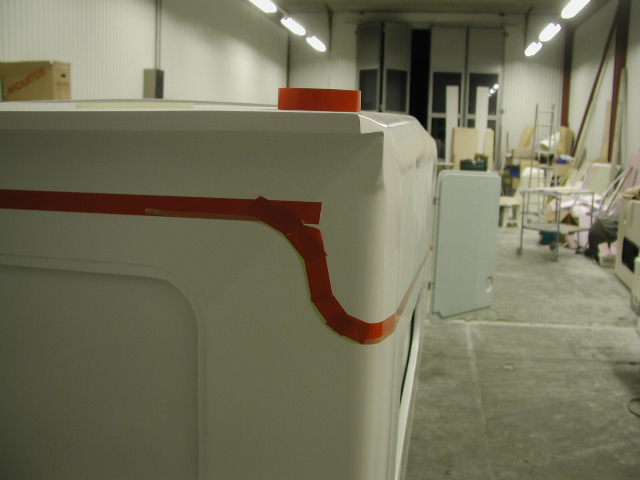
The stripe is nice and straight, night outside
These ends where NOT easy to get to where we liked them
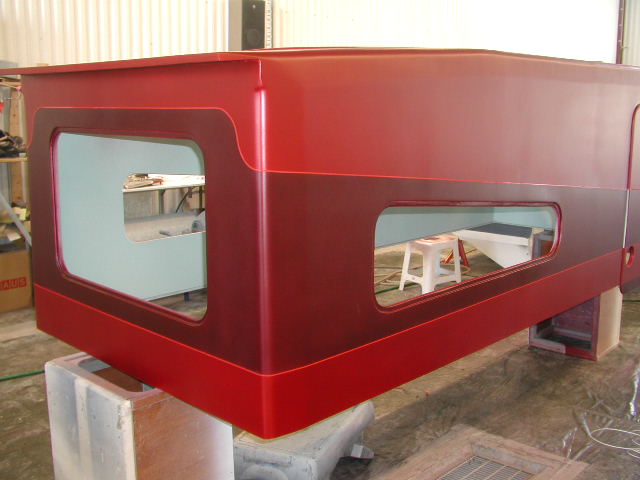
Masked reade for first coat of red, night outside
Finally ready to paint the dark metallic
Finally done, just to mask it again and shoot te light red, morning outside
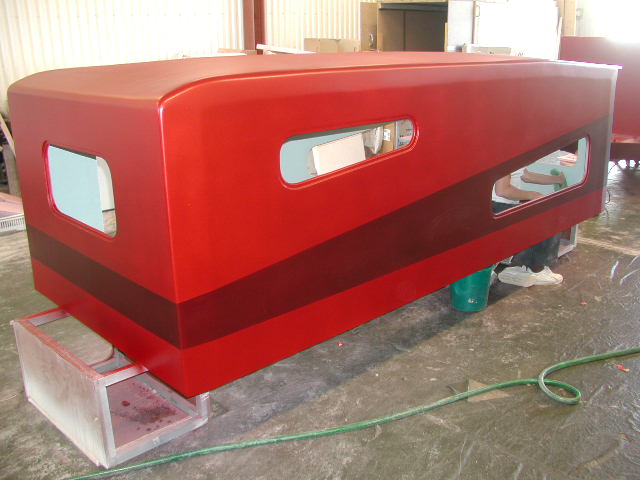
Fianally done for now
Time to stripe

London fog after clearcoat. Due to the stress and tiredness I mixed the last coat of clearcoat wrong and it dit NOT float out at all. The first 3 coats looked good, BUT Murphy is alive and well
The finish looks like crap but it's red
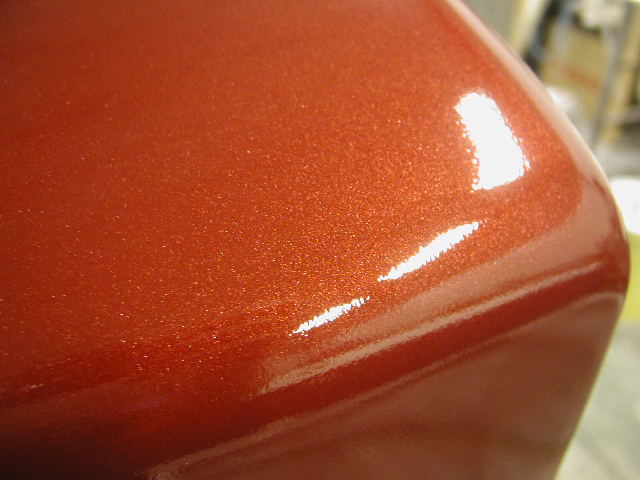
Nice looking metallic

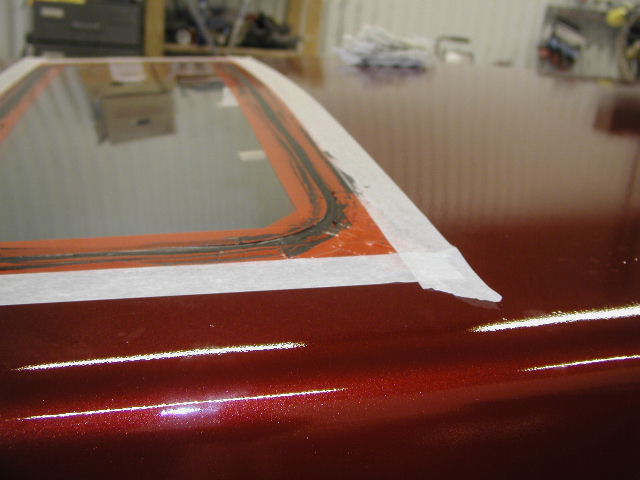
Skylight
Sidewindow
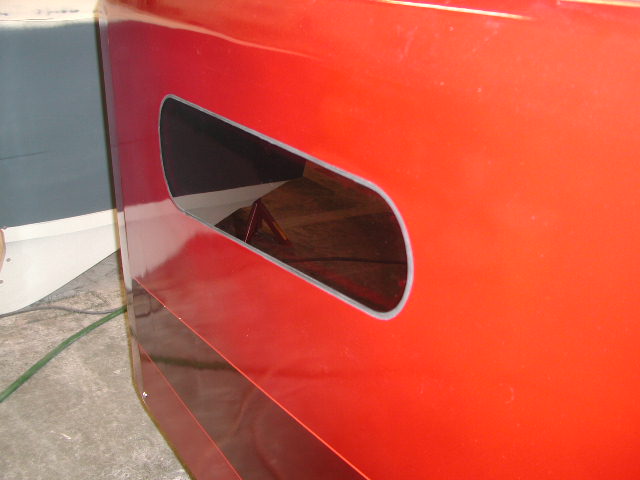
Came out nice, clean look
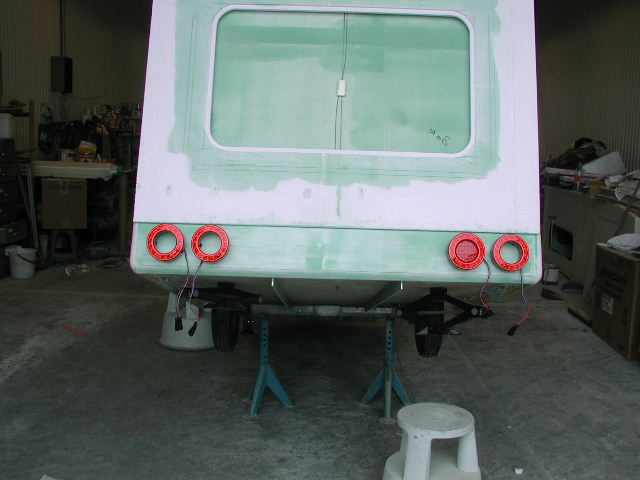
Brand spanking new, first daylight
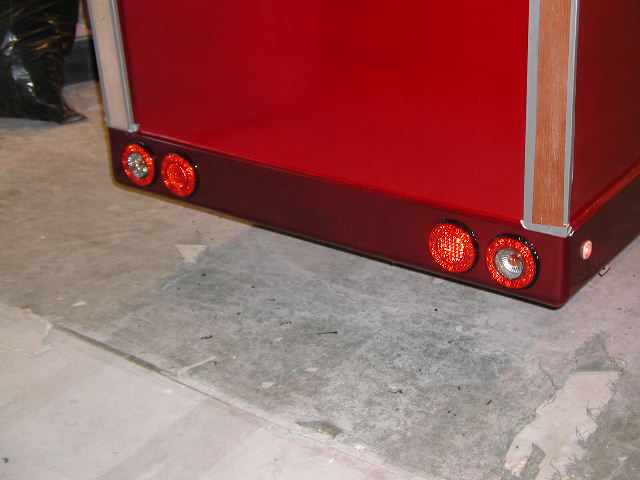
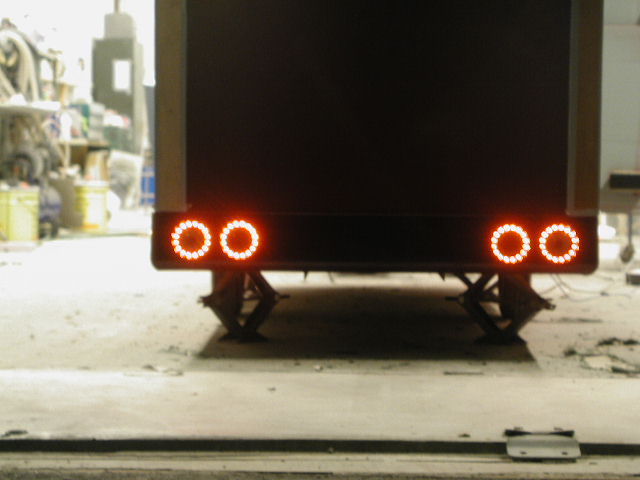
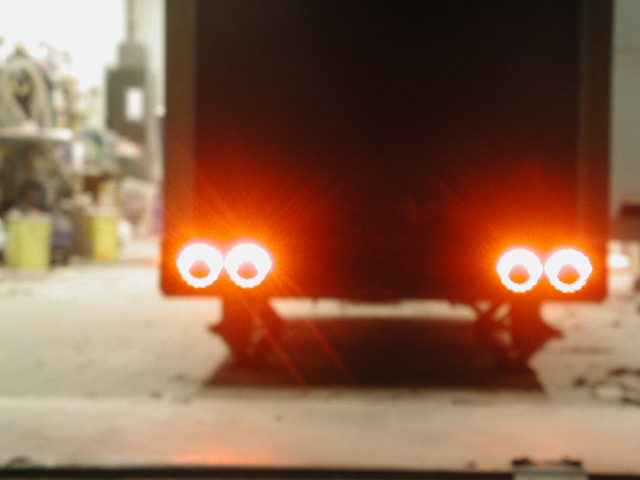
Hard to tell but only HALF of the LED ring is breaklight, we choose to put it on top